Angular Architecture
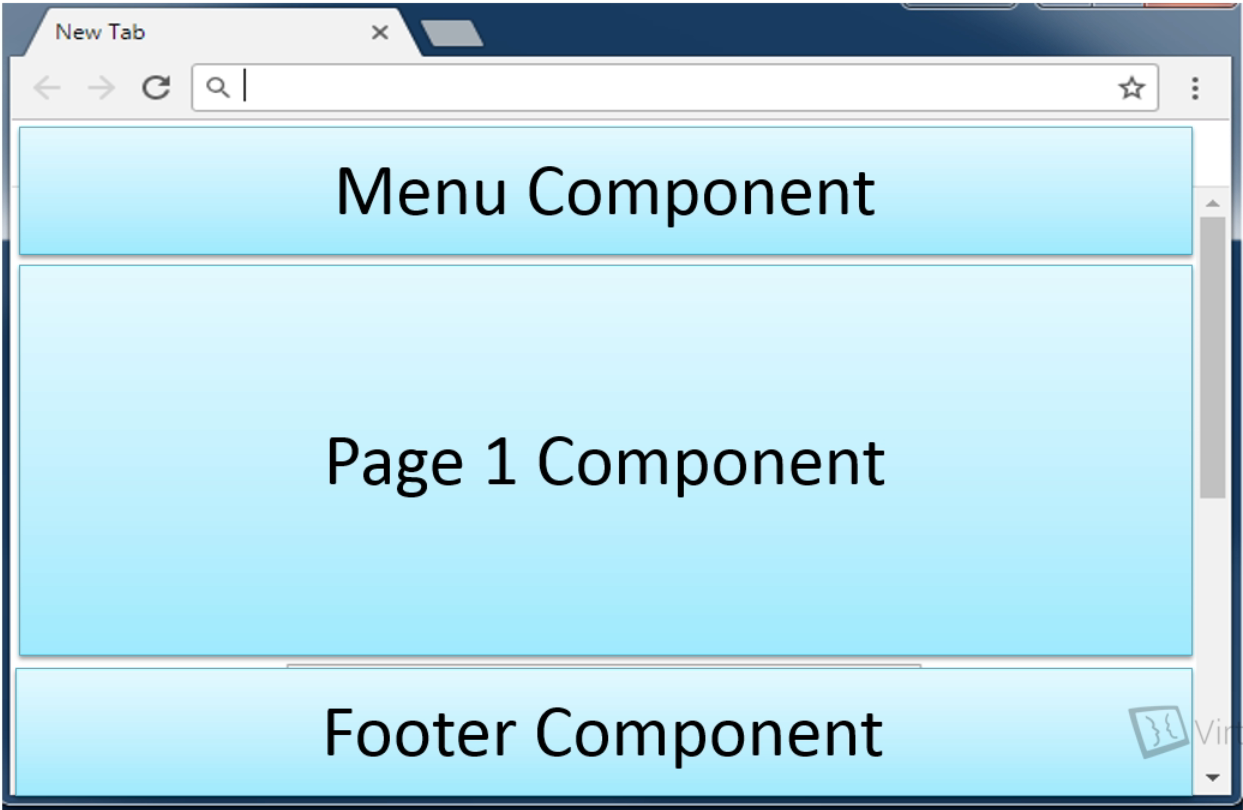
- An Angular Component can be thought of as part of a web page
- It's a combination of HTML and code, although it could consist of only one
- Generally it's a piece of display with functionality
- We can then reuse components, such as a menu component, across the site.
Component File Structure
- Within a project components are broken down into folder, which usually have 4 parts:
- HTML - .html - contains layout
- CSS - .css/.sass/.ccss/.less - stylesheets for the component
- Class - .ts - typescript file backing HTML
- Spec- .spec.ts - A second typescript file for unit testing (created by default but can be deleted)
A Code Snippet
    import {Component, EventEmitter, Output} from '@angular/core';

    @Component({
      selector: 'app-header',
      templateUrl: './header.component.html',
      styleUrls: ['./header.component.css']
    })
    export class HeaderComponent {

      constructor() { }

      @Output()
      pageRequested = new EventEmitter<number>();

      onChangePage(page: number): void {
        console.log("page " + page +  "clicked");
        this.pageRequested.emit(page);
      }
    }
Not a lot to discuss here since the class above is very similar to java. Just a couple key differences:
- Annotations are called Decorators in Angular
- The HTML tag will be named after the 'selector' field
- Below that templateUrl and styleUrl give the locations of the HTML and CSS files, respectively
-
exportis the equivalent ofpublic
A tag for this component in HTML would look like:
<app-header></app-header>
- Angular-Cli can generate components automatically
-
ng generate component <name>ORng g c <name>
-
- The app.component.html contain all the components in the application
- index.html is always loaded first and only contains the reference to <app-root>
-
Angular Does Not Assemble the HTML. All of the code in the application is compiled into JS files, which is then read by the browser to create the complete HTML files
- Check them out by viewing the source of the webpage
- By default in Angular, the URL does not change on page nagivation, but this can be easily changed
- This also means you can't use the 'Back' button on the browser as there is no history
- There is also a file called app.module.ts which tells the application where to find components
- CLI tool updates this automatically, so only worry about this if you are creating the file structure manaully
Template Variables
- Template Interpolation means we can have a variable in our TypeScript file that can be referenced from the HTML
- Use
{{ varName }}for variables and((methodName))for methods and[attName]for attributes in the HTML - Code can be bound to events, such as a button press
- While these might have the same effect, the ngIf method also changes the source code
Component Interaction
-
It is possible to read child properties from the parent's class file.
- Very similar to Java inheritance, this is a one-way interaction
-
It is also possible to write to child class attributes from HTML

-
The app component is the parent of all pages
-
The child component can send a message to the parent component which can listen for certian events
Services and Dependency Injection
- You can create a single instance of a class that can be accessed by any component along with its functions, in Angular this is called a Service
- The only Special feature about Services is that once instantiated it will be automatically injected into any classes in the Application using dependency injection
- Generate a Service with:
ng generate service <name>orng g s <name>- Note: AngularCLI will automatically add 'service' to the end of the name
- The
@Injectabledecorator allows the class to be injected - One could configure the injectable to only allow access from certian classes, but this is an advanced feature
- To inject a Service, you must add the service to the injected class constructor parameters
The Observer Design Pattern
- As a general rule you should not be referencing services within the HTML
- What is better is to create a local variable in the component
  ngOnInit(): void {
  	// This will automatically update if the books array is changes.
    // Because it is a referenced variable
    this.books = this.dataService.books;
    // This will not update automatically if the books array changes.
    // It is a local variable.
    this.numBooksByMe = this.books.filter( it => it.author === 'Me' ).length;
  }
- To overcome the above issue, we can use the Observer Design Pattern
- This method is used extensively in the code of Angular itself
- The idea is fairly simple:
- Define an object of type Observable.
- This is a special object type which can send out notifications (or events)
- We can write code to trigger these events
- Define objects to observe these observable objects, called observers
- This is done within the data service
- Define an object of type Observable.
- The Subject object is nearly identical to EventEmitter, except it comes from the rxjs package, a reactive programming library included in Angular.
- EventEmitter is a wrapper of Subject
- The recomendation is always to use EventEmitter as the observable
    this.dataService.bookAddedEvent.subscribe(
      // first var: the incoming data
      (newBook) => {
        if (newBook.author === 'Me') {
          this.numBooksByMe++;
        }
      },
      // second var: error handling
      (error) => {
        console.log('An error occurred:', error);
      },
      // Optional complete event always takes no parameters
      () => {
      	// complete event
      }
    );
- If an error is thrown the service is unsubscribed from the event, you need to add special code in the error handler to perisit the connection
- You should also unsubscribe observers when they are finished, or else a memory leak may occur.
- Use the
OnDestroymethod
- Use the
- To inject an Interface there is an extra step in app.module.ts:
@NgModule({
  declarations: [
    AppComponent,
    Page1Component,
    HeaderComponent,
    Page2Component,
    Page3Component,
    FooterComponent
  ],
  imports: [
    BrowserModule
  ],
  // When provided with <InterfaceName> use <ServiceName>
  providers: [ {provide : 'DataServiceInterface' , useClass : DataService} ],
  bootstrap: [AppComponent]
})
export class AppModule { }
- Tests don't use the app.module.ts so you'll have to add it into tests where applicable. Except in tests you use
useExistingrather thanuseClass
A Note on .gitignore
By default, Github will exclude /node_modules in the .gitignore file. This is good because this folder can be very large, and the contents can be easily obtained when opening an Angular project. However, if using Continous Integration, the build will fail without these files. So including these files should be concidered if using a workflow which automatically deploys.
No Comments